When was the last time you went on a picnic?
A picnic seems simple:
- Pack up some food in a basket.
- Head to a nearby park.
- Have a delicious lunch outside.
However, preparing lunch for a picnic is more complicated than preparing one to eat at home since let’s face it, how often have you left the table because you forgot a serving spoon or required a new fork? Or did you decide you wanted a pickle or some chips after taking one bite of the sandwich? Or did you overlook the mustard?
Once you reach your destination, what you have is all you have—unless you are at home! If you don’t have a corkscrew, you won’t be able to open that excellent bottle of wine.
The inconveniences can be reduced, and the picnic appear to be a breeze with some planning and a few useful tools.
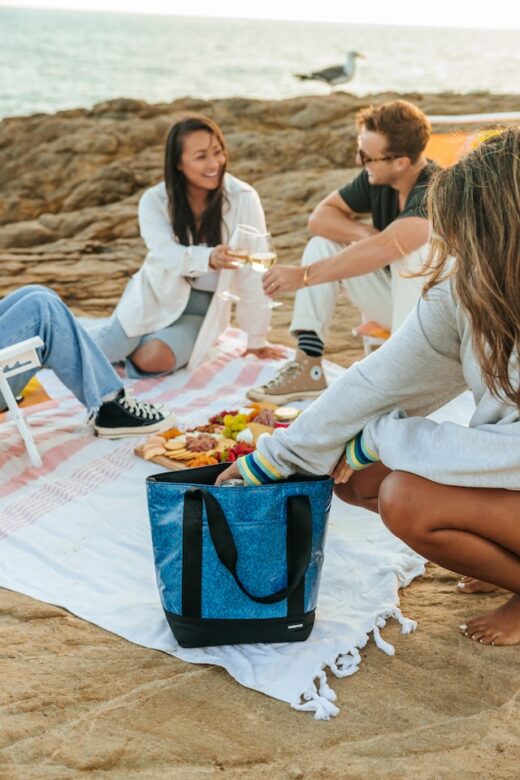
Picnic Baskets of All Sorts
Wicker isn’t necessary for a picnic basket. Similar to a basket. Many different basket designs are available to suit your demands for a picnic and your lifestyle. Are you packing for two or four people? Are you taking a bicycle, a car, or on foot? Is this a short lunch in the park next to the office, or is this a date-night dinner?
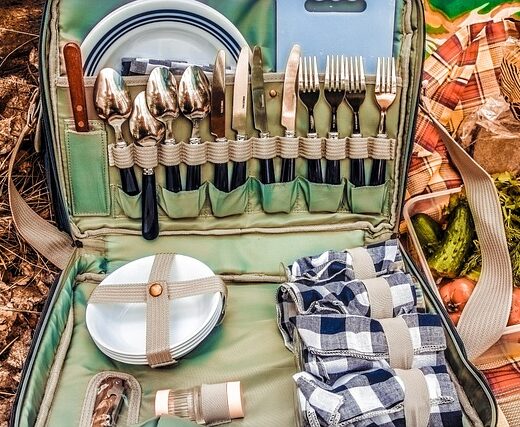
You can get a backpack explicitly made for picnics. Dishes, wine glasses, metal utensils, napkins, a cutting board, a serrated knife, a corkscrew, and miniature salt and pepper shakers are all included. Some may also include a picnic blanket, detachable wine storage, and insulated food storage in a separate compartment, and the backpack may be personalized.
The backpack basket is ideal whether you’re hiking on city streets or off-road paths to get to your picnic spot. Or maybe for a quick bike ride. However, as they can only fit as much food as you can carry, they’re generally best used for a small spread of sandwiches and sides or wine, cheese, and hors d’oeuvres.
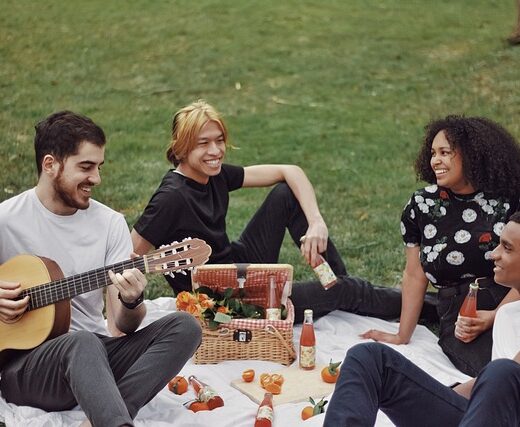
Wicker baskets offer the feel of a vintage picnic. Some picnic basket even come with a cutting board, embroidered napkins, wine glasses, bamboo plates, and cutlery. This type of basket works well for a wider variety of picnic supplies due to its spacious interior.
We all likely are aware that heat rises and cold sinks when it comes to food storage, so if you’re using ice packs (more on that in a moment), it makes sense to place them on top for the optimum preservation of chilled meals. There is, however, another logic at play. Put dessert at the bottom and the items you’ll want the most at the top. Less time spent leaving the basket open will help you retain more cold.
Even while freezer packs are helpful, I discovered that using a freezable sports bottle filled with water also worked well, and I had an extra source of cool water at the picnic when the ice melted.. The bottle was the last item to be packed into the basket after filling it since I didn’t want it to burst into the freezer. They are undoubtedly cold enough to make a lunchtime trip to a local park.
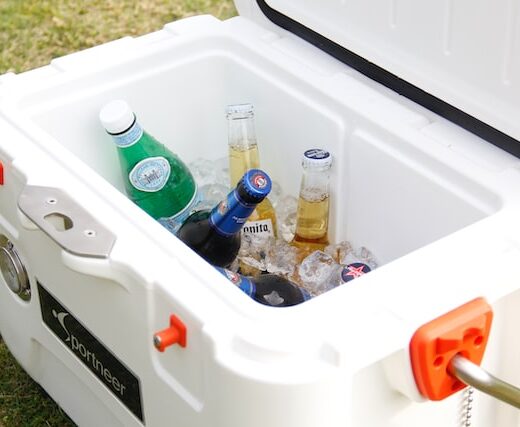
Ice Coolers
Look for ice coolers that chill rapidly and keep your items safe. You can either lay the coolers on top of the basket for transport and let people insulate their beverages while they are drinking, or you can wrap them over your containers before placing them in the basket (which has the bonus of cushioning them if you happen to be bringing glass). If you put goods in the proper-sized containers, you can also use them to keep food refrigerated.
Eating And Serving Tools
Consider that your chosen picnic location might not be near flowing water, so you might want to grab a clean spoon instead of attempting to clean the dirty one if you drop your serving spoon in the grass.
I advise packing a ton of additional serving utensils. They don’t take up much room, and you don’t need to go all out with expensive equipment for serving spoons and other pieces of cutlery. You may find a ton of inexpensive, mismatched, and unique serving spoons and cutlery by visiting a nearby thrift shop. Wash and dry them, returning them to the basket in a sturdy plastic bag so that you are prepared to go again once the picnic is complete.
Also bring some extra knives, since we’re on the subject. You don’t need to use your best tools, although I’d advise against using a butter knife. Use a knife that has its sheath, such as the red utility knife, which has an edge that’s made for simple spreading and cutting. A small, sharp edge in the handle’s divot can be used for cutting, such as when attempting to open one of those stubborn chip bags.
Cutting Board
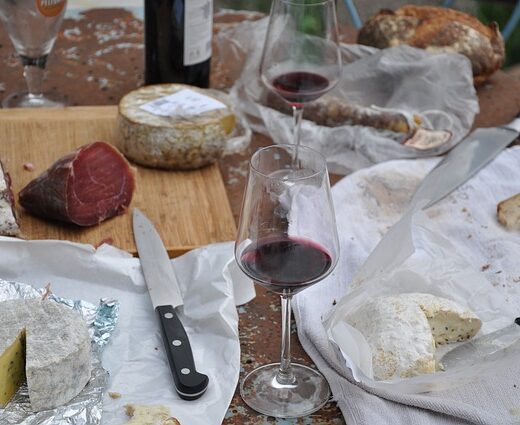
There are lots of small board options on the market. Additionally, a few tiny cutting boards can be useful. Remember that you might not have a convenient way to rinse your used boards, so it might be more practical to pack a few more. Even though I prefer small, flexible cutting mats, the picnic location may have uneven ground so that a solid board might be a better option. You did consider serving that cheese, didn’t you?
Wine and Cheese Tools
Don’t forget the toothpicks for the wine and cheese basket! I brought cheese, olives, and some pickled foods, none of which needed plates or tools to eat, but toothpicks are undoubtedly more polite than sticking your fingers inside the olive container. Purchase a tiny toothpick dispenser, and place it in the picnic basket.
Although the picnic baskets I mentioned included their napkins, it’s a good idea to have more in a dispenser to prevent them from blowing away. Please leave it in the basket after the picnic or use it for a backyard get-together.
There are numerous 2-person and 4-person varieties of picnic baskets. Even if you anticipate that your picnics will only include two people, the four-person option could be a good idea because you’ll get extra plates and serving utensils and won’t need to bring as many.
This picnic isn’t over yet. Check out more information in Part 2.

Leave a Reply